Difficult points of precision machining shaft parts - PTJ Manufacturing Shop
Difficult points of precision machining shaft
| Precision shaft parts are a common type of part. The structure is usually a rotating body and is generally longer than the diameter. It is widely used in many automation equipment. It is used to support transmission components, transmit torque and withstand loads. |
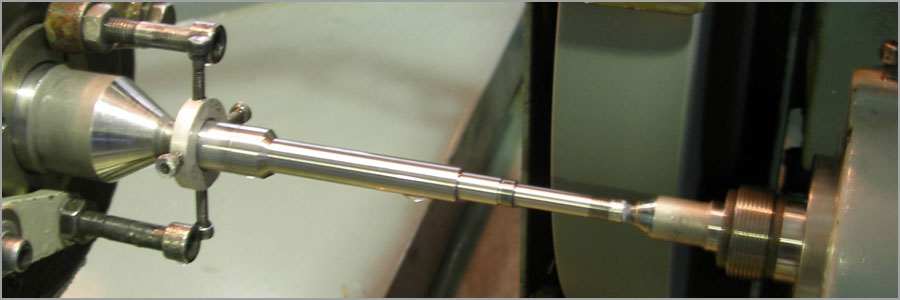 PTJ Shop is a company specializing in the custom processing and mass production of high-precision shaft parts. It has accumulated many years of experience in the precision machining of shaft parts. Next, we will take care of the processing of shaft parts in detail. Some problems that need attention, mainly from pre-processing, processing routes, clamping and positioning benchmarks, to find out together.
Pre-machining (assisted) of shaft parts
Before the turning of the outer part of the shaft part, some preparatory process must be carried out. This is the pre-processing of the shaft part. The most important preparation process is straightening. Because workpiece blanks are often bent and deformed during manufacturing, transportation, and storage. In order to ensure reliable clamping and uniform distribution of machining allowance, straightening is performed by various presses or straightening machines in the cold state, which is helpful for later machining accuracy.
Basic processing route of shaft parts
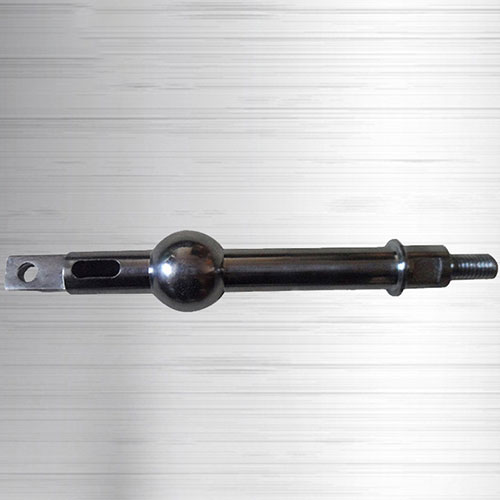
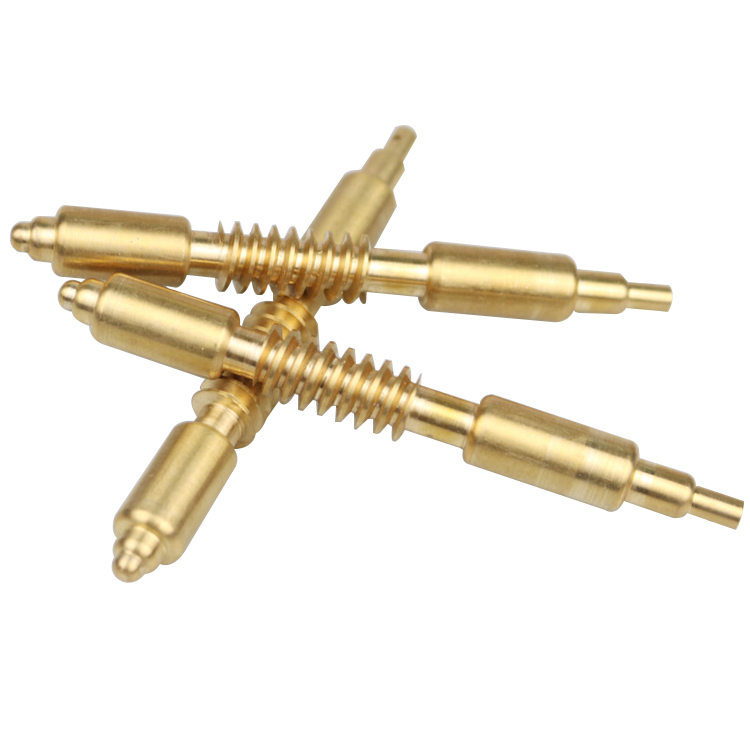
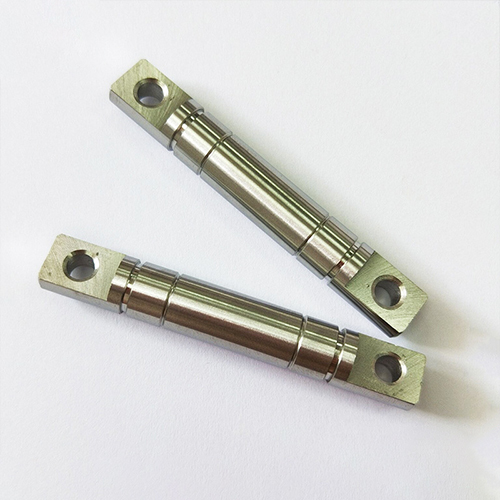
The main machining surface of the shaft parts is the outer surface and the special special surface, so the appropriate processing method should be selected for various accuracy grades and surface roughness requirements. The basic processing route can be summarized into four.
- From the rough car to the semi-finished car, and then to the finishing car processing route, this is also the most important process route for the general external material shaft parts needle outer circle processing.
- From roughing to semi-finishing, to finishing, diamond, this processing route is specially used to process non-ferrous materials, because the hardness of non-ferrous metals is small, it is easy to block the gap between sand particles, and grinding is usually not It is easy to obtain the required surface roughness, and the finishing and diamond car processes must be used; the last processing route is from roughing to semi-finishing, to coarse grinding and fine grinding.
- From roughing to semi-finishing, to rough grinding, and finally using fine grinding processing route, for ferrous materials and precision requirements, surface roughness requirements are small and need hardened parts, this processing route It is the best choice because grinding is the most ideal follow-up process.
- Performing finishing, this kind of route is a processing route that is often used for hardening of ferrous materials and requiring high precision and low surface roughness.
 |
 |
 |
 |
Assembly of shaft parts
The processing of the cone plug and the taper mandrel must have high machining precision. The center hole is not only the positioning reference made by itself, but also the benchmark for the outer circle finishing of the hollow shaft. It must ensure the taper on the cone or cone sleeve. It has a high degree of concentricity with the center hole.
Therefore, when selecting the clamping method, it should be noted that the number of installations of the cone plug should be minimized, thereby reducing the repeated installation error of the parts. In actual production, after the cone plug is installed, it is generally not removed or replaced in the middle of processing before processing.
Positioning reference for machining of shaft parts
-
Use the center hole of the workpiece as the positioning reference for machining. In the machining of shaft parts, the outer circular surface, the concentricity of the tapered hole and the thread surface, and the perpendicularity of the end surface to the rotation axis are important embodiments of the positional accuracy. These surfaces are generally designed with the centerline of the shaft as the reference and are positioned with the center hole to conform to the principle of reference coincidence.
The center hole is not only the positioning reference for turning machining, but also the positioning reference and inspection standard for other machining processes, which conforms to the principle of unified standards. When positioning with two center holes, it is possible to process a plurality of outer circles and end faces in a single clamping.
- Use two outer circular surfaces as the positioning reference for processing. When machining the inner bore of the hollow shaft, the center hole cannot be used as the positioning reference, so the two outer circular surfaces of the shaft should be used as the positioning reference. When machining the machine tool spindle, the two support journals are often used as the positioning reference, which can effectively ensure the concentricity of the taper hole relative to the support journal, and eliminate the error caused by the misalignment of the reference.
- The outer circle and the center hole serve as the positioning reference for the machining. This method effectively overcomes the shortcomings of poor positioning rigidity of the center hole, especially when machining a heavier workpiece, the positioning of the center hole may cause the clamping to be unstable, and the cutting amount may not be too large. You don't have to worry about this problem by using the outer circle and the center hole as the positioning reference. In roughing, the method of using the outer surface of the shaft and a center hole as the positioning reference can withstand large cutting moments during machining, which is the most common positioning method for shaft parts.
-
Use a cone plug with a central hole as the positioning reference for
machining. This method is most commonly used in the machining of the
outer surface of hollow shafts.
Through the above analysis, the problems that are often encountered in the processing of shaft parts can be effectively avoided and prevented, and the processing efficiency and precision can be well protected.
PTJ Shop introduces Japan imported star, Nomura, Jinshang and other CNC movement machines, and has many advantages in the precision machining of shaft parts. CNC machine is able to effectively maintain the products when processing long shaft products because of its special structure. Accuracy and concentricity, and also the ability to achieve side milling and cross-section milling in one-time clamping, which is not an advantage of conventional CNC lathes.
|
PTJ Machining Capabilities |
|
Automatic Bar Machining – Multi-spindle cam automatic screw machines CNC Turning – CNC delivers peak cost efficiency in shorter volumes, as well as high capacity production of mechanically simple components Custom Machining - with up to 12 axes of control Multi Spindle Machining- ISO 9001:2015 certified Screw Machine Products – The number of customized production parts per hour can reach 10000pcs Swiss Machining – with up to 9 axes of CNC control, to produce precision components with complex geometries in one operation High Volume Machining – 100 Advanced Production Turning Bar Automatics On-line and Ready CNC Milling - Machining Fully compliant with the exacting requirements of our customers 5 axis (11 axis) Machining – Tolerance | 0.1mm alignment |
What Can we help you do next?
∇ Get more information about cnc machining Shop
→Case study-Find out what we have done.
→Ralated tips about cnc machining services
By PTJ Manufacturing Shop|Categories: Blog|Tags: cnc milling services, cnc turning services, milling parts, turning parts, machining parts, special parts,faqs,technical news,company news,material news |Comments Off
